

Issue:
While opening embedded Smarten objects through API in any web application in the latest version of chrome (chrome 84.0.4147), it shows the error as shown in the below screenshot.
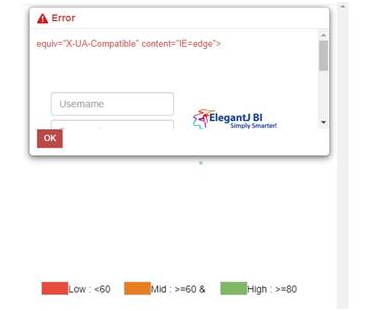
Reason:
This is purely a CORS (Cross-Origin Resource Sharing) error that happens when Smarten is hosted at a different IP than your website or web application. The latest version of chrome(chrome 84.0.4147) blocks the same.
The CORS mechanism supports secure cross-origin requests and data transfers between browsers and servers. But CORS is subject to change in Chrome version as in the latest version, the web security roles have been changed as part of security and those must handled properly.
Solution:
Proper IP tunneling should be done to make this work. This has to be done differently for the applications developed in PHP, .Net, etc.
1. Application in PHP / Java
Apache web server need to be installed in the host for handling this for the sites developed in PHP / Java. After this, proxy pass setting through apache should be done. The below mentioned code has to be added in your ‘VirtualHost’ file for the same.
<VirtualHost *:80>
ServerNamelocalhost
ProxyPreserveHost On
ProxyPass /smarten http://localhost:8080/smarten(Mention Smarten URL here)
ProxyPassReverse /smarten http://locahost:8080/smarten (Mention Smarten URL here)
RewriteEngine On
ErrorLog ${APACHE_LOG_DIR}/error.log
CustomLog ${APACHE_LOG_DIR}/access.log combined
</VirtualHost>
2. Application in .Net or hosted IIS web server
If the application is developed in .Net or they are hosted in IIS web server, a connector extension (AJP13) need to be installed to handle this situation.
a. Download the latest version of AJP13 from https://github.com/Bilal-S/iis2tomcat/releases/tag/1.0.42
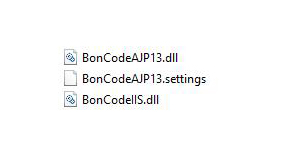
b. Extract the .zip-file to a temp folder (AJP13_v1042.zip)
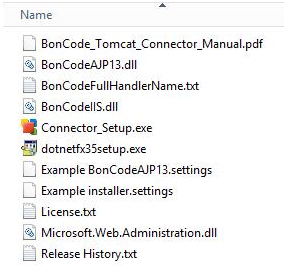
EXTRACTED FILES
c. Run “dotnetfx35setup.exe” if .NET 3.5 has not been installed on the server.
d. Execute “Connector_Setup.exe”.
- Specify the server and port of Apache server during the setup process and click Next.
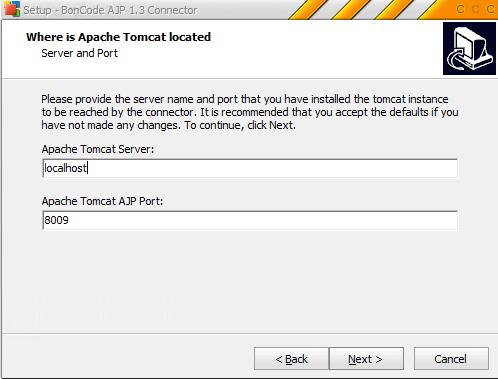
SERVER AND PORT DETAILS
- Select all or specific site option as a next step.If multiple sites are hosted in IIS and if smarten has been integrated to those sites, choose the second option – “Let me choose specific sites …” and select the specific sites. Else choose the first option – “All IIS Sites …”.
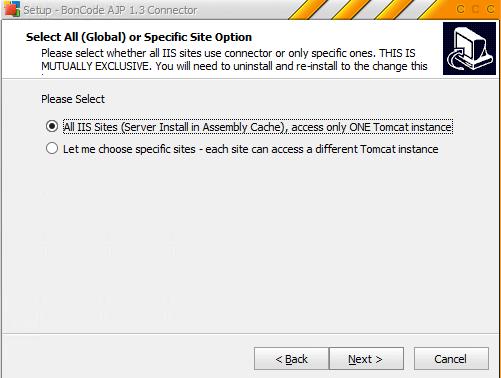
GLOBAL OR SPECIFIC SITE OPTION
- In Environment Configuration, select the option “Enable IIS Sub Configuration”.
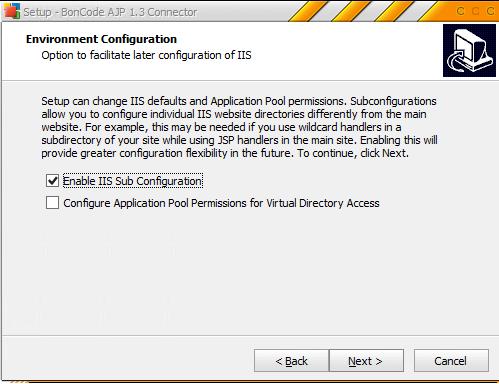
ENVIRONMENT CONFIGURATION
- The setup is now ready to Install, Click on Install and Finish then after.
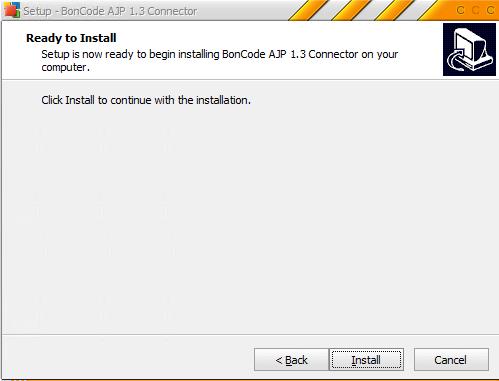
FINAL STEP OF INSTALLER
e. The installer copies all the binaries and configuration files to “c:\\Windows”.
f. After this, modify the content of “BonCodeAJP13.settings” as below.
<Settings>
<Port>8009</Port>
<Server>localhost</Server>
<MaxConnections>200</MaxConnections>
<LogLevel>1</LogLevel>
<FlushThreshold>0</FlushThreshold>
<EnableRemoteAdmin>False</EnableRemoteAdmin>
<LogDir>E:\LogFiles\APPLogs\BoncodeAJP</LogDir>
<EnableHTTPStatusCodes>True</EnableHTTPStatusCodes>
</Settings>
Note: Make sure the IIS Application Pool user has access rights to ‘LogDir’ folder.
g. A folder named “bin” will be created in the root of your website. Copy the below two files to the bin folder.
- C:\Windows\BonCodeAJP13.dll
- C:\Windows\BonCodeIIS.dll
h. After this, specify the folders that have to be forwarded to the wildfly. For Smarten, create a new folder in the root of the website named “smarten”.
i. Copy the “bin” folder under “smarten” folder.
j. Add handler mapping in IIS after this. Go to the subfolder named “smarten” and add a new managed handler as below.
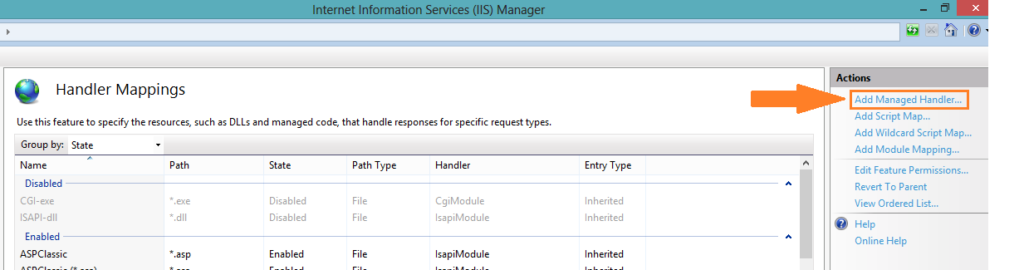
HANDLER MAPPINGS
k. Specify the request path as “*”, Select type as “BonCodeIIS…” and Name as “BonCodeAll”.
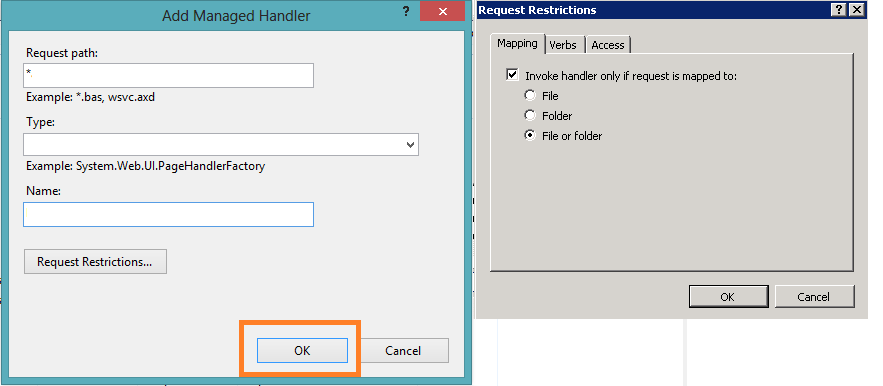
MANAGED HANDLER SETTINGS
l. Open the standalone.xml configuration file, and add the below mentioned parameter under the http-listener parameter.
<ajp-listener name=”ajp” socket-binding=”ajp”/>

m. Reset IIS after this. Run “iisreset” to reload the setting file.
After making the above changes as per the application hosting options, whenever the host sends a request to Apache (where Smarten is hosted), proxy passes the request to the tunnel and then request will be handled. Host IP and Smarten IP will be considered as the same, and this issue will not occur.
Note: This article is based on Smarten version 5.0. This may or may not be relevant to the Smarten version you may be using.
Original Post : Handling CORS issues with API in Google Chrome!
 Augmented Analytics Support, Business Intelligence Support, Smarten Support, Smarten Training
Other posts